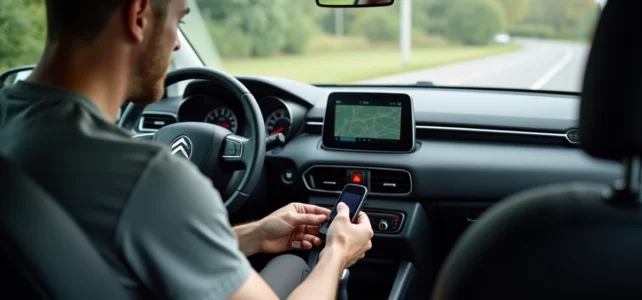
Your Citroën C3 Aircross offers a route that goes through a roundabout that has been replaced for two years by a traffic light intersection. The built-in GPS works, but its maps are from the day the vehicle was delivered. Updating the mapping or changing the navigation system does not require any particular technical skills, as long as you follow the correct method according to your equipment version.
Identify the multimedia system installed in your C3 Aircross
Before starting anything, you need to know which screen is equipped in your vehicle. The Citroën C3 Aircross has had two distinct generations, and the embedded systems differ radically between them.
In the first generation (from 2017), two systems coexist. The most common is the Connect Nav with touchscreen, which integrates a native GPS with TomTom mapping. Some entry-level trims offer a smaller screen, without integrated navigation, relying solely on smartphone replication.
In the new generation, the approach changes. Some trims replace the central screen with a smartphone dock that serves as the main interface. Others offer a 10.25-inch screen with a completely rethought ergonomics. The update method directly depends on this architecture: built-in GPS with downloadable map files, or navigation delegated to the phone via Apple CarPlay and Android Auto.
You can check your system in the “Settings” menu of the touchscreen. The name of the system (Connect Nav, Connect Play) and the software version are displayed there. Note this information before proceeding: it conditions everything that follows.
For those looking to install or update the Citroën C3 Aircross GPS, this identification step prevents downloading incompatible files or following an unsuitable procedure.
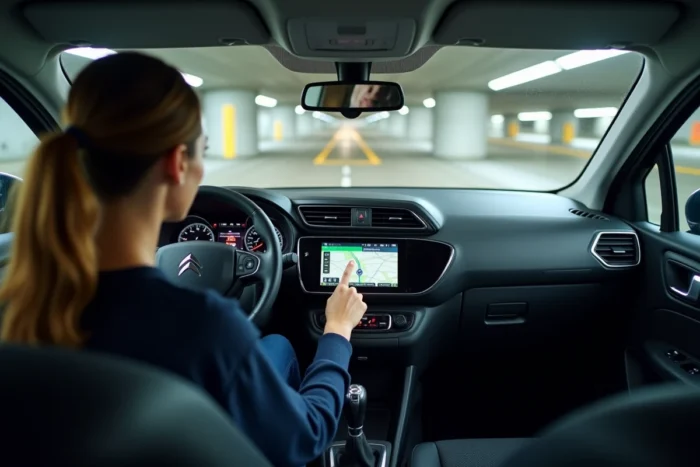
Update GPS Citroën C3 Aircross via USB key: the complete procedure
The most reliable method to update the maps of the Connect Nav involves a USB key formatted in FAT32. The principle is simple: you download the map files onto a computer, transfer them to the key, and then plug this key into the vehicle’s USB port.
Prepare to download the maps
Go to the site citroen.navigation.com. The site asks you to select your model (C3 Aircross) and then the year of first registration. This is where the VIN number becomes useful: it allows for precise identification of the version of the embedded system and access to compatible files.
The map files are large. Plan for a USB key with sufficient capacity and a download time that may exceed an hour depending on your connection. The key must be empty, without any other files, to avoid any conflict during installation.
Start the installation in the vehicle
Once the key is ready, here are the steps to follow:
- Start the engine (or turn on the ignition for hybrid versions) so that the multimedia system remains powered throughout the procedure
- Plug the USB key into the designated port, usually located in the central console or glove compartment
- The system automatically detects the files and proposes the installation, which must be confirmed on the screen
- Do not remove the key and do not turn off the ignition before the end of the process, indicated by a confirmation message
The installation can take between twenty and forty-five minutes. During this time, navigation remains unusable. Plan to start the procedure while stationary, for example during a break.
Alternative to built-in GPS: Android car radios and third-party systems
Do you have an entry-level system without integrated GPS, or is your Connect Nav showing its limits? There are third-party GPS car radios specifically designed for the Citroën C3 Aircross. These devices connect in place of the original screen and operate on Android.
Their main advantage: map updates are free and unlimited, as they go through applications like Google Maps or Waze. Some models also integrate a rearview camera, Bluetooth, and Apple CarPlay compatibility.
The installation requires a bit more manipulation (removing the front panel, connecting the connectors), but the kits sold for the C3 Aircross use suitable cables that avoid any soldering. A patient DIYer can manage it in less than two hours.
This option is rarely mentioned in standard guides, even though it solves a recurring problem: the cost of official map updates, which many owners consider high compared to the perceived benefit.
Have the GPS update done at a Citroën garage
Not all owners want to handle USB keys or disassemble a dashboard. Authorized Citroën garages offer GPS updates as a standalone service, just like a maintenance check or technical inspection.
You make an appointment, the technician connects the diagnostic tool, checks the software version, and installs the latest maps. The service is billed separately from regular maintenance.
Have you recently checked the version of your maps? If your vehicle is from 2018 or 2019 and you have never performed an update, the gap between the embedded mapping and real road conditions can be significant: removed roundabouts, new expressways, modified pedestrian zones.
When to delegate rather than do it yourself
Delegating the update to the network is justified in a few specific cases:
- Your system displays recurring errors or refuses the USB key after several attempts
- You also want a firmware update (the software of the system itself, not just the maps), which sometimes requires a professional diagnostic tool
- Your vehicle is still under warranty, and you prefer to avoid any manipulation that could raise questions in case of a claim
Going to the workshop also allows for checking that the Bluetooth system and connected services are functioning correctly after the update, which avoids unpleasant surprises on the first trip.
An up-to-date GPS does not change the power of the engine, but it changes the quality of every trip. Whether you go through the USB key, a third-party car radio, or the garage, the operation remains accessible. The longest part, ultimately, is often the downloading of the map files.